create iphone voice memos
This is a basic demonstration/tutorial on how use the new iPhone Voice Memo application in iPhone OS 3.0. If you are not a developer you will likely not have access to this iPhone application until June 2009.
Step One
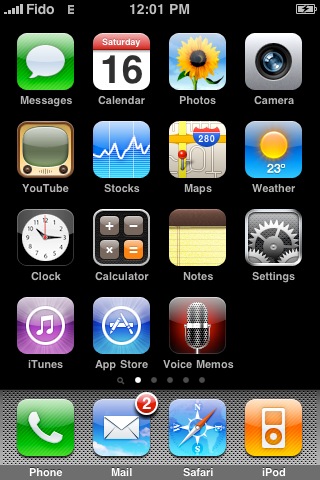
Press to launch the new Voice Memos application from the Springboard
Step Two
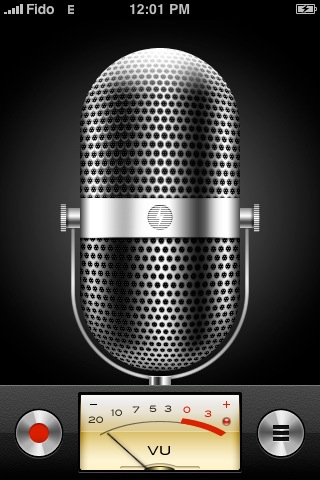
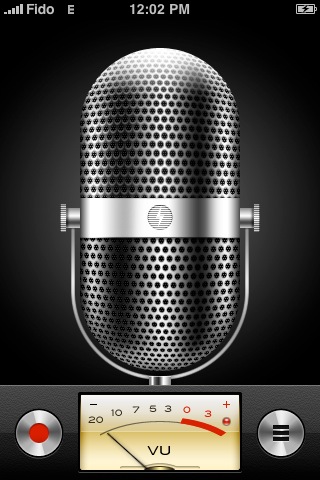
When the voice memo app opens you will see a microphone and a VU meter. At the bottom left there is a red record button. At the bottom right there is a list button.
To record a new voice memo press the Record button.
Step Three
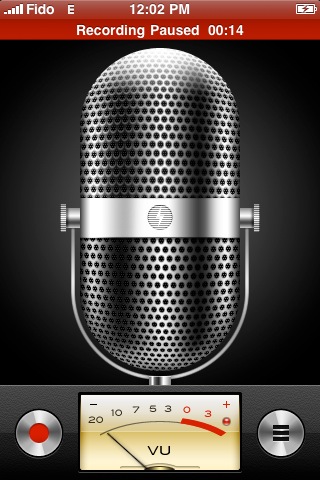
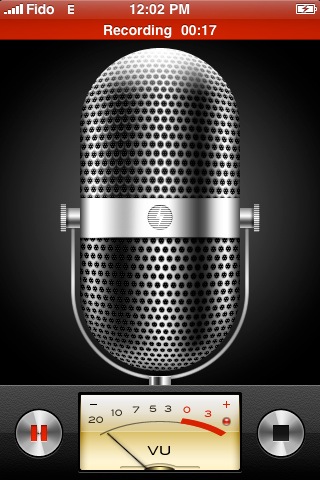
You will see a status bar along the top display the elapsed time.
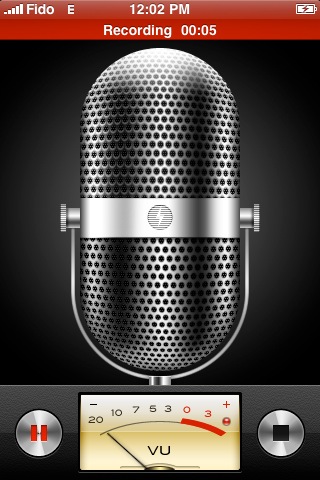
You can use the Pause button at the bottom left of the screen to pause then restart recording. Once you are done recording your voice memo press the Stop button at the bottom right of the screen.
Step Four
Press the list button at the bottom right to view your previously recorded memos.
Step Five
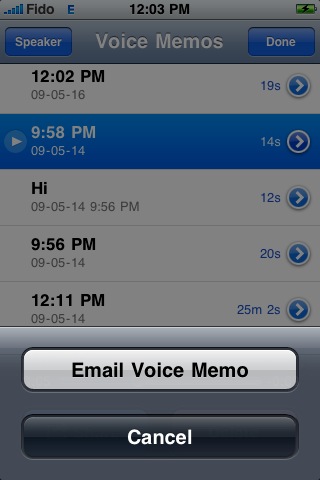
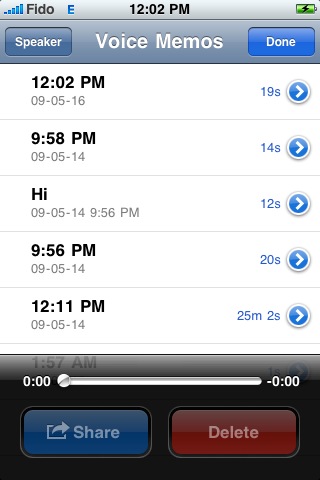
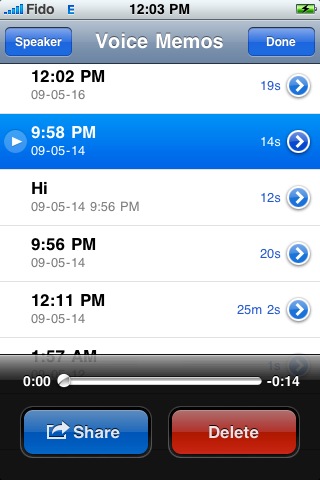
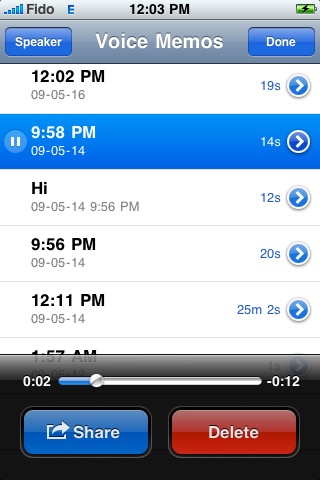
Your previously recorded memos will be ordered by the time recorded. You can also see the duration and date of each memo.
Press to select a memo for playback. You can use the Speaker button at the top left to listen to memo over the loud speakers.
Step Six
To share a memo with a friend press the Share button at the bottom of the screen.
Press the large Email Voice Memo button to open a new Mail message with the memo attached as a m4a audio file.
